Shrink wrap is a popular packaging technique that involves wrapping a product in a plastic film and then shrinking the film to conform tightly to the product using heat. This method is commonly used to package items such as books, CDs, DVDs, electronics, and food items. But what are the steps of shrink wrap?
Step 1: Choose the right shrink wrap material
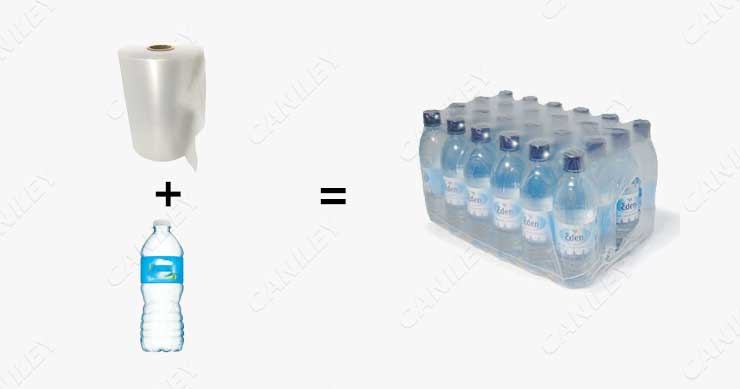
The first step in shrink wrap is to choose the right type of shrink wrap material for your product. Shrink wrap film comes in various materials such as PVC, polyolefin, and polyethylene. The type of shrink wrap you choose will depend on the product you’re wrapping, the storage conditions, and the shipping method.
Step 2: Prepare the product
Before you begin the shrink wrap process, you must prepare the product for packaging. This may include cleaning, drying, or removing any protruding parts or sharp edges that could puncture the shrink wrap. It’s important to ensure that the product is free of any debris, moisture, or dirt that may interfere with the adhesion of the shrink wrap.
Step 3: Cut the shrink wrap film
After preparing the product, the next step is to cut the shrink wrap film to the appropriate size. It’s important to cut the film with enough excess material to wrap around the product and overlap on the bottom. This will help ensure a secure fit and protect the product during shipping and handling.
Step 4: Wrap the product
Once the shrink wrap film has been cut to the appropriate size, it’s time to wrap the product. Place the product in the center of the film and wrap it tightly, leaving a few inches of excess material at the bottom. Use a sealer or heat gun to seal the bottom of the shrink wrap, creating a pouch-like enclosure around the product.
Step 5: Apply heat
After wrapping the product and sealing the bottom, it’s time to apply heat to shrink the film. Depending on the type of shrink wrap material you’re using, you can use a heat gun, shrink wrap machine, or oven to apply heat to the film. Be sure to follow the manufacturer’s instructions for the correct temperature and duration of heat exposure.
Step 6: Cool the shrink wrap
Once the shrink wrap film has been heated, it’s important to allow it to cool and set in its new shape. This can be done by allowing the product to sit at room temperature or using a cooling fan to speed up the process.
Step 7: Inspect the shrink wrap
After cooling the shrink wrap, it’s important to inspect it for any tears, holes, or other defects. If the shrink wrap is damaged, it’s important to rewrap the product to ensure that it’s properly protected.
Of course, all these steps can be completed by the automatic shrink wrap machine, if you have any demand, contact us: info@cankeytech.com